Essential Painting Tips for Your Next Home Project
April 30, 2026
Key Highlights of Painting Project Tips
- Proper preparation is crucial for a successful paint job; always clean and prep your walls for smooth surfaces.
- Investing in the right tools, like quality brushes and rollers, can make a significant difference in your results.
- Never skip the primer, as it ensures better paint adhesion and prevents common mistakes.
- Allow adequate drying time between coats to avoid ruining the final look.
- A thorough final inspection and proper cleanup will ensure your painting project looks professional.
Are you ready to transform a room with a fresh coat of paint? Embarking on a new painting project can be a fantastic way to update your space without a massive budget. While it seems simple, achieving a flawless finish requires more than just a can of paint and a brush. From preparation to the final stroke, certain steps are essential. By using the right tools and techniques, you can avoid common pitfalls and ensure your next paint job looks professional.
How to Prepare Your Room for a Smooth Painting Experience
The key to a professional-looking paint job is all in the prep work. Before you even think about opening a can of paint, taking the time for thorough preparation is non-negotiable. This initial stage sets the foundation for a durable and beautiful result.
Start by cleaning the painting area. Wipe down walls and baseboards with a damp cloth to remove dust and grime. Use painter’s tape to protect trim, windows, and ceilings. This careful prep ensures your new paint will adhere properly and look fantastic. Let's look at the specific steps and tools needed.
Essential Steps Before Painting a Home
Before applying new paint, a thorough inspection of your walls is a must. Look for any areas with peeling, cracking, or flaking paint. If you paint over these spots, the new coat will likely pull off the old, loose paint, ruining your finish. Also, check for any greasy or dirty spots, as they can prevent the paint from sticking correctly.
After your inspection, it's time to act. Use a scraper or sandpaper to remove imperfections. For dirty areas, a wash with sugar soap followed by a rinse with clean water works wonders. If the walls are just a bit dusty, a quick wipe-down with a damp cloth is sufficient. The goal is to create a clean, smooth surface for the paint.
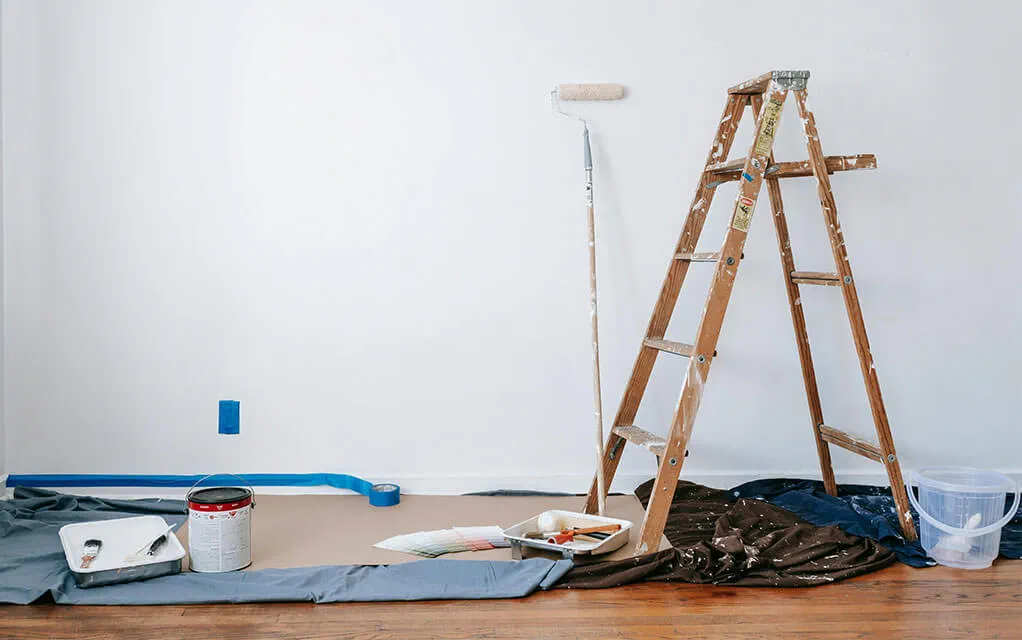
Finally, consider environmental factors, especially for exterior projects. Humidity and rain can cause drips and slow down drying time for wet paint.
- Check for and scrape off any flaking or peeling areas.
- Wash greasy spots and rinse with clean water.
- Ensure the surface is completely dry before you begin.
- Check the weather forecast for ideal painting conditions.
Tools and Materials Needed to Avoid Painting Mistakes
Having the right tools is just as important as the paint itself. Skimping on your equipment can lead to a frustrating experience and a subpar finish. Quality brushes, for instance, won't shed bristles into your fresh paint, and good rollers provide better coverage. The right tools make the job easier and the results more professional.
You will also need items for preparation and cleanup. A putty knife is essential for filling holes and cracks, while a paint tray helps you load your roller evenly. High-quality painter’s tape is a must-have for achieving clean, sharp lines and preventing bleeding. Using the correct materials from start to finish is key.
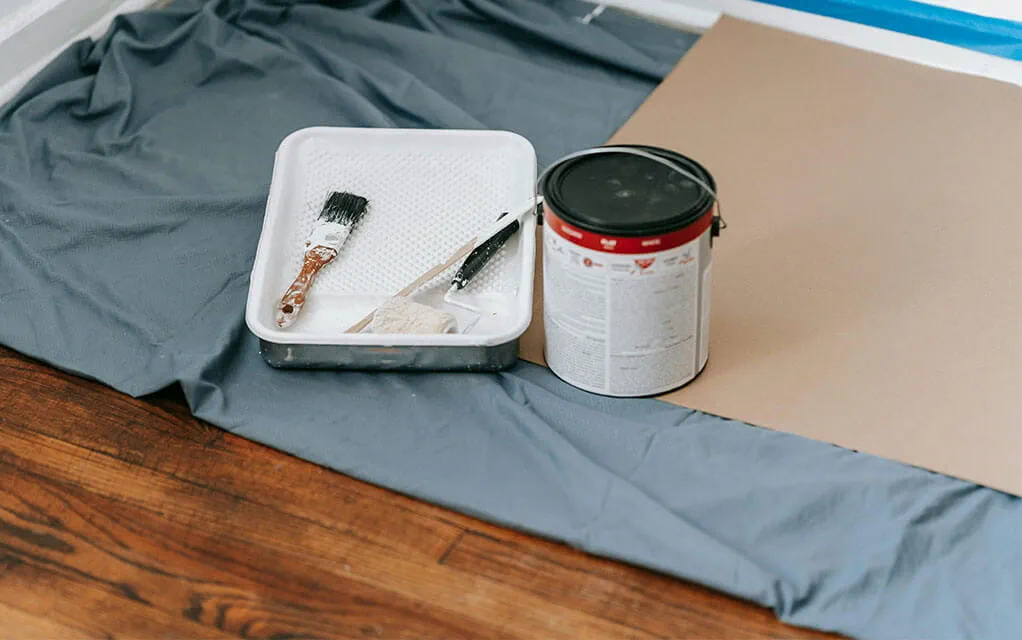
Here are the essential tools for your project:
- Quality Brushes: Don't skimp on brushes! This is your primary application source, and a cheap brush will lead to a cheap finish.
- Roller & Tray: These will be used to apply paint evenly to large surfaces. As with the brushes, invest in a quality paint roller to apply your paint evenly.
- Painter’s Tape: Get quality painter's tape to protect trim and create clean lines.
- Putty Knife: For filling cracks and holes with compound.
- Drop Cloths: To protect floors and furniture from spills, use traditional drop cloths. If you want to save money and not buy a "unitasker," use old bedsheets or cheap shower curtains to protect your floors.
- Sandpaper: Use sandpaper to smooth down any rough surfaces or bumps on your wall. This helps with creating a clean application of your paint.
Mastering the Art of Primer and Surface Preparation
One of the biggest mistakes in any painting project is skipping the primer. Proper surface preparation, including applying a coat of primer, is essential for a lasting finish. Primer creates a uniform surface that helps your topcoat adhere better and look more even.
If you're painting over a dark color or a glossy finish, a tinted primer can be a lifesaver. It helps conceal the old color, reducing the number of paint coats you'll need. Understanding why primer is so important and how to apply it correctly will set you up for success.
Why Primer Matters for Home Renovation Projects
Why is a coat of primer so critical? Primer acts as a bonding agent between the surface and the paint. Without it, you risk poor adhesion, which can lead to your paint peeling, blistering, or cracking over time. It seals porous surfaces like new drywall and ensures your paint goes on smoothly and evenly.
Inadequate surface preparation is a primary cause of paint failure. If you paint directly over patched areas, for example, the filler will absorb moisture from the paint differently than the rest of the wall, creating a dull, flat spot. Primer evens out the surface porosity, so your final finish is consistent.
Even if you buy a paint-and-primer-in-one product, applying a separate primer is often the best choice, especially for challenging surfaces or significant color changes. It’s an extra step that guarantees the longevity of your paint job and prevents frustrating issues from appearing later.
Techniques to Prevent Common Painting Mistakes with Primer
To get the most out of your primer, thorough preparation is key. Before you prime, make sure all holes and cracks are filled with a joint compound or wood filler. Use a putty knife to press the filler in and smooth the surface so it's flush with the wall. Once it's dry, sand it smooth for a flawless base.
When painting over bright colors like red or orange, using a tinted primer is a pro move. Ask the paint store to add a little gray or a bit of your topcoat color to the primer. This technique does a much better job of hiding the old, vibrant color and can reduce the number of topcoats you need to apply.
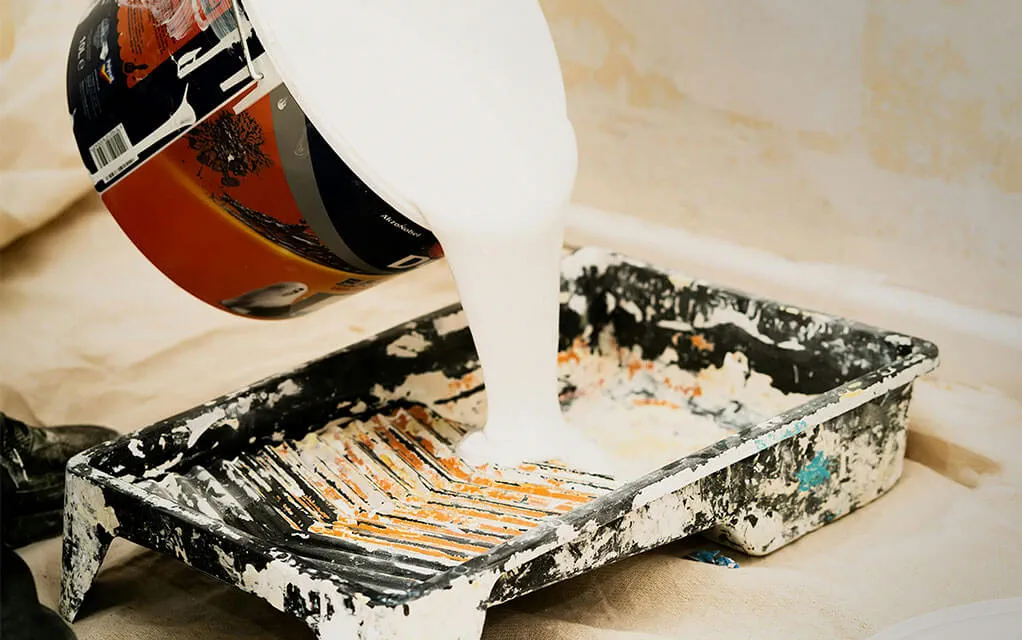
Applying primer correctly prevents streaks and ensures an even finish.
- Always prime over patched areas to avoid a dull look, known as "flashing."
- For high-humidity rooms like bathrooms, use a stain-blocking primer to prevent peeling and mildew.
- Let the primer dry completely before sanding it lightly for an extra-smooth surface.
- Apply the primer evenly with a quality brush or roller.
Choosing the Right Paints and Brushes for a Professional Finish
The type and quality of your paintbrush directly impact the final look of your project. While color is important, the paint finish, such as flat, eggshell, or semi-gloss, plays a huge role in both appearance and durability. Choosing the wrong sheen can highlight imperfections or not withstand wear and tear.
Similarly, a cheap paintbrush can ruin a perfect coat of paint by leaving bristles behind. Investing in higher-quality tools and the right paint for each surface will help you achieve a professional paint finish you can be proud of.
Best Tools to Avoid Streaks and Drips When Painting a Room
Streaks and drips are common frustrations, but they are avoidable with the right tools and techniques. A quality paintbrush is your first line of defense. Cheap brushes have uneven bristles that don't hold paint well, leading to an inconsistent application. They are also prone to shedding bristles, which get stuck in your fresh paint.
When using a roller, make sure you load it from a paint tray to apply paint evenly. Don't just dunk it in the paint can. Roll it back and forth in the tray to saturate the roller nap without overloading it. This helps prevent drips and ensures you apply smooth, even coats of paint. A steady hand and a well-loaded tool are essential.
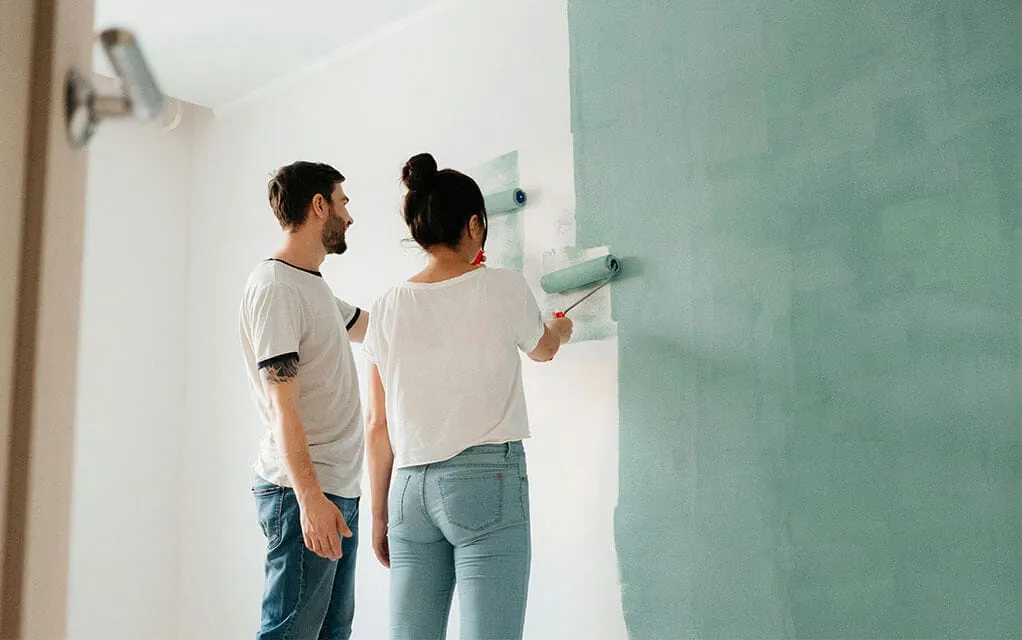
Here are a few more tips to keep your work clean:
- When loading a brush, dip only about a third of the bristles into the paint.
- Tap the brush gently against the inside of the can instead of wiping it on the rim.
- Work in small, manageable sections to maintain control.
- Apply light, even pressure to avoid forcing paint out in drips.
Tips for Selecting Paint Types for Walls, Trim, and Doors
Choosing the right types of paint for different surfaces is crucial to achieving a durable, attractive overall finish. Not all paints are created equal, and what works for your walls might not be the best choice for your trim or doors. The paint's sheen, or finish, is a key consideration. If you are selecting paint for a primary room, such as a bedroom or living room, it is best to opt for high-quality paint. Low-quality paints may be cheaper but wear out more quickly and are more prone to scuffs and wear over time, making them a better choice for garages and playrooms that see more high-impact events.
For most walls in living rooms and bedrooms, an eggshell finish is a popular choice. It has a slight sheen that is more durable and easier to clean than flat paint, but it doesn't highlight imperfections as much as glossier finishes. In high-traffic areas or rooms with moisture, like kitchens and bathrooms, a satin or semi-gloss finish is better because it’s highly durable and easy to scrub.
For trim, doors, and cabinets, a semi-gloss or high-gloss paint is ideal. These sheens are tough, easy to wipe clean, and provide a crisp, clean look that contrasts nicely with wall colors. Using the correct paint for each job ensures your hard work lasts.
Portable Storage Solutions for Major Home Renovations
Major home renovations, including large-scale painting projects, often require you to clear out entire rooms. Where do you put all your furniture and belongings? Moving everything into another room can create clutter and chaos, and storing everything in a traditional off-site storage area wastes valuable time and money. This is where portable storage containers from Zippy Shell offer a perfect solution.
Our containers provide a secure, on-site space to keep your items safely stored and out of the way, allowing you to do your painting and home renovation project on your terms and schedule.
Using Portable Storage Containers to Organize During Painting Projects
When you're undertaking a significant painting project, organization is key to a smooth process. Portable storage containers from Zippy Shell offer an incredibly convenient way to manage your belongings. Here is how it works: you can have a container delivered directly to your home - no driving necessary on your part - allowing you to clear the painting area completely and keep your containers for as long as you need them. This gives you unobstructed access to walls, ceilings, and trim.
Instead of cramming furniture into the center of a room and covering it with drop cloths, you can move items into the container. This eliminates the risk of accidental paint splatters on your valuables and makes the entire painting process faster and more efficient. You won't have to constantly move furniture around to reach different parts of the room.
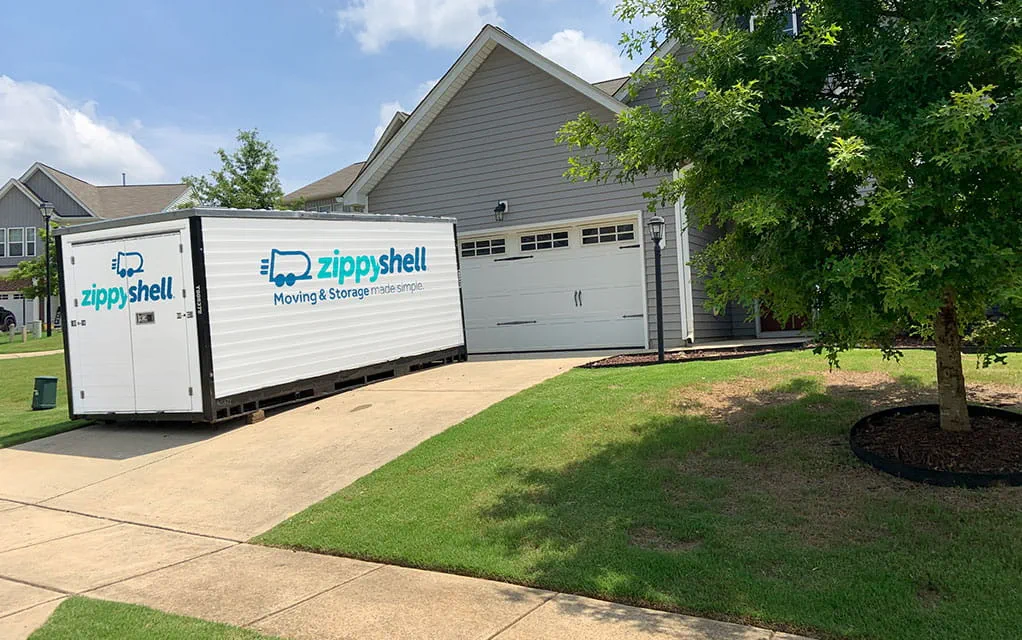
With your items safely stored just outside your door, you can focus entirely on the task at hand. Once the paint is dry, you can move everything back in without hassle. portable storage containers simplify logistics, whether you need on-site storage for a few days or longer-term secure warehouse storage for a larger renovation.
Protecting Furniture and Valuables When Painting Your Home
Protecting your furniture and valuables is a critical part of thorough preparation for any painting job. Paint splatters can be difficult to remove and can permanently damage surfaces. While drop cloths are useful, the most effective way to protect your items is to remove them from the room entirely.
For large-scale projects, portable storage containers provide the ultimate protection. By moving your furniture, rugs, and decor into a secure container, you eliminate any risk of damage or accidents. This also gives you a completely empty room to work in, making the painting process itself much easier and faster. No more navigating around bulky covered items.
If you can't move everything out, make sure to take extra precautions.
- Move all remaining furniture to the center of the room.
- Cover items completely with durable canvas drop cloths, as plastic can be slippery.
- Remove all wall hangings, outlet covers, and light fixtures.
- Keep a damp cloth handy to wipe up any fresh drips immediately.
Let Zippy Shell's portable storage containers make your painting process simpler today!
Step-by-Step Guide to Painting Walls, Ceilings, and Trim
Now that your room is prepped, it's time to paint. The order in which you paint matters. Always start with the ceiling, then move to the walls, and finish with the trim. This sequence helps prevent drips from ruining a freshly painted surface below.
Applying a smooth, even coat of paint is the goal. Techniques for avoiding lap marks and visible brushstrokes are essential for a professional paint finish. After your primer coat dries, you can confidently begin applying your first coat of paint, knowing you have a plan.
How to Paint a Room Without Lap Marks or Visible Brush Strokes
Lap marks are those ugly, noticeable stripes caused by overlapping layers of paint that have partially dried. The key to avoiding them is to always maintain a "wet edge." This means each new stroke of your roller should overlap the previous one before it has a chance to dry. This technique helps the paint blend seamlessly.
To achieve this, work in small sections and complete one full wall at a time without taking a break. When rolling, paint in a "W" or "N" pattern to distribute the paint, then fill it in with even, parallel strokes. This method helps avoid visible brush strokes and roller marks, giving you a uniform finish. A steady hand and continuous motion are your best allies.
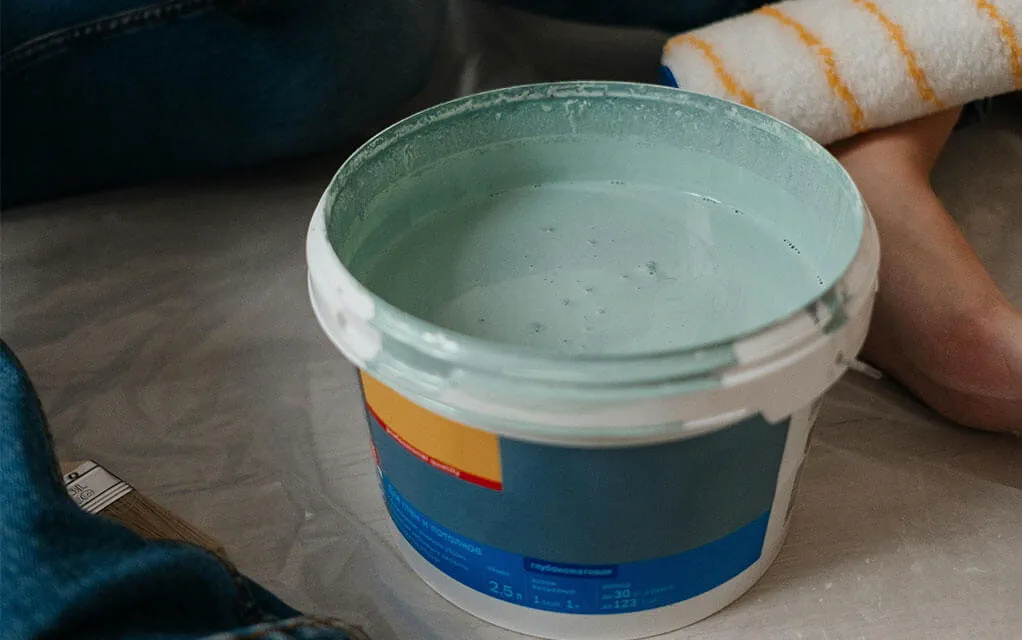
Follow these steps for a seamless look:
- Cut in the edges of one wall first, but don't let the paint dry.
- Immediately begin rolling the wall, blending into the wet, brushed paint.
- Roll from top to bottom in a continuous motion.
- Once a section is done, move on without going back over semi-dry paint.
Techniques to Avoid Paint Splatters and Uneven Finishes
Paint splatters and uneven coverage can quickly turn a DIY project into a mess. These issues often result from having too much paint on your brush or roller. To avoid this, never overload your tools. Dip your brush only about a third of the way in, and tap off the excess paint inside the can rather than scraping it on the rim.
When using a roller, use the grid in the paint tray to remove excess paint and ensure the roller is evenly coated. Rolling too quickly can also cause splatters, so use slow, deliberate strokes. If you notice a drip or splatter on the wet paint, smooth it out immediately with your brush or roller before it dries.
Here are more techniques to keep your work tidy:
- Use canvas drop cloths to protect your floors, as they absorb paint.
- Work from dry areas into wet areas to blend the paint smoothly.
- Use a paint shield or painter's tape to protect adjacent surfaces.
- Don't press too hard with your roller; let the tool do the work.
Timing and Layering: Getting the Perfect Finished Look
Patience is a virtue, especially when it comes to painting. Rushing the process and applying a second coat too soon can ruin your overall finish. The first coat needs adequate drying time to cure properly before you apply a new coat of paint.
Understanding the recommended drying time for your specific paint is crucial. This ensures the layers bond correctly, resulting in a durable, flawless finish. We will explore how long to wait and offer tips for applying the seamless final coat.
How Long to Wait Between Coats to Avoid Ruining the Finish
One of the most common mistakes is not waiting long enough between coats of paint. Applying a second coat before the first coat is fully dry can cause peeling, bubbling, and an uneven texture. The new layer of wet paint can lift the semi-dry paint beneath, creating a mess that is difficult to fix.
So, how long should you wait? The answer is on the paint can. Every paint manufacturer provides a recommended drying time, and it's essential to follow it. This time can vary by paint type, but it's typically between 2 and 4 hours for latex paint. However, environmental factors such as high humidity or low temperatures can extend the required drying time.
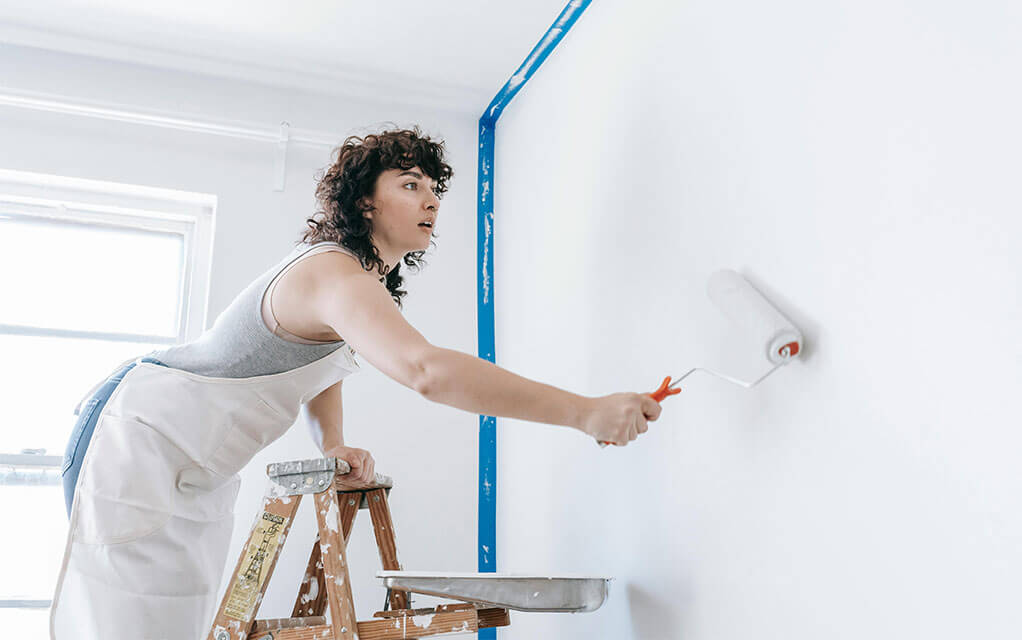
Before applying the second coat, do a touch test in an inconspicuous spot. If the paint feels tacky or soft, it's not ready. The surface should feel completely dry and hard to the touch. Rushing this step will compromise the quality and longevity of your paint job, so it's always better to wait a little longer if you're unsure.
Tips for Achieving a Seamless Final Coat
Achieving a seamless final coat is the last step toward a flawless finish. This new coat of paint should correct any minor imperfections from the first coat and provide deep, consistent coverage. Before you begin, do a quick inspection of the first coat. Lightly sand away any drips or bumps with fine-grit sandpaper, then wipe off the dust.
When applying the final coat, use the same techniques as before, maintaining a wet edge and working in manageable sections. For an extra-smooth result, some pros recommend slightly thinning the paint for the final coat, but check your paint can's instructions before doing so. The goal is to apply a thin, even layer.
Here are some tips for that perfect final touch:
- Ensure the room is well-lit to spot any missed areas.
- Apply the final coat in the opposite direction of the first coat to help eliminate roller marks.
- Use light pressure to float the paint onto the wall.
- Once the wall is painted, don't go back and touch it up. Let it dry completely.
If you are able to, open windows or turn on fans to help the drying process and promote ventilation of paint fumes.
Cleaning Up and Storing Supplies After Painting
The job isn't over when the last brushstroke is done. Proper cleanup and storage of your supplies are essential for ensuring your tools are ready for your next project. A messy cleanup can ruin brushes and rollers, forcing you to buy new ones every time.
From cleaning your paintbrush and paint tray to properly storing leftover paint, taking a few extra minutes now will save you time and money later. Good home renovation storage practices also mean you'll be better prepared for future touch-ups or another painting adventure.
Proper Cleanup to Prevent Painting Mistakes Next Time
Proper cleanup is just as important as prep work. Leaving paint to dry on your tools will ruin them. For latex paint, you can clean your brushes and rollers with warm, soapy water. For oil-based paints, you'll need to use paint thinner. Taking care of your equipment ensures it will perform well for your next painting job.
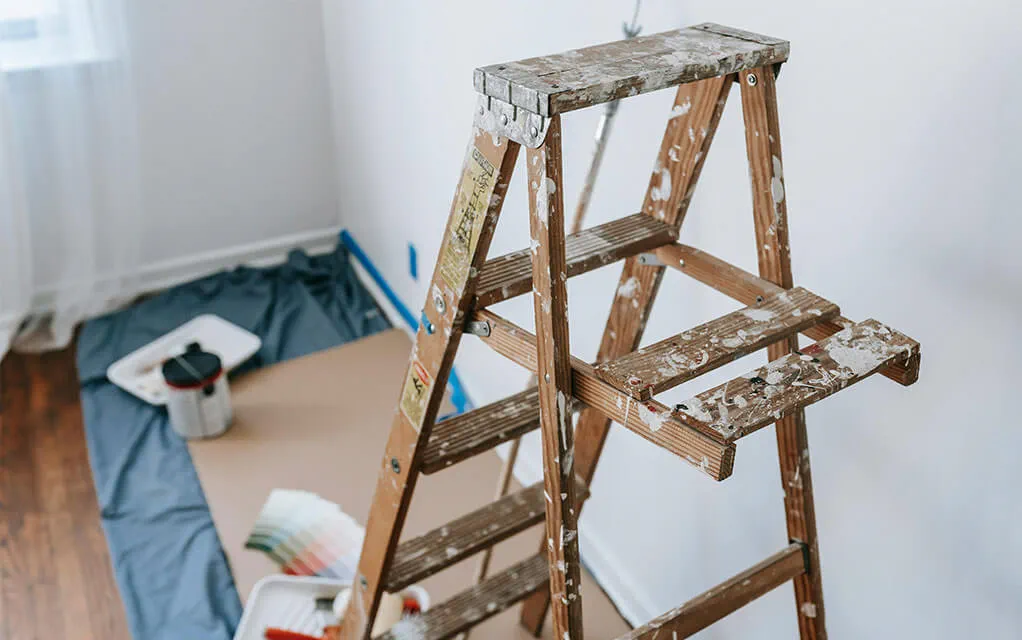
Start by removing as much excess paint as possible from your brushes and rollers before washing. Scrape the paint tray while the paint is still wet. Use a damp cloth to wipe up any spills or splatters on floors or other surfaces immediately. Don't forget to remove your painter's tape while the paint is still slightly wet to avoid peeling the new paint off.
A thorough cleanup sets you up for success next time.
- Wash brushes until the water runs clear, then reshape the bristles.
- Use a roller cleaning tool to efficiently remove paint from roller covers.
- Wipe the rim of the paint can clean before sealing it tightly.
- Dispose of paint thinner and other chemicals responsibly.
Storing Your Brushes, Rollers, and Paint
Once your tools are clean and dry, storing them correctly will preserve their quality. A good paintbrush can last for years if cared for properly. After washing, put your brushes back into the cardboard sleeves they came in. This helps the bristles maintain their shape and protects them from damage.
For leftover paint, make sure the can is sealed tightly. You can do this by placing a piece of plastic wrap over the opening before putting the lid on and tapping it down with a rubber mallet. Store the paint in a cool, dry place where it won't freeze, like a basement or closet, not the garage. Freezing can ruin the paint's consistency.
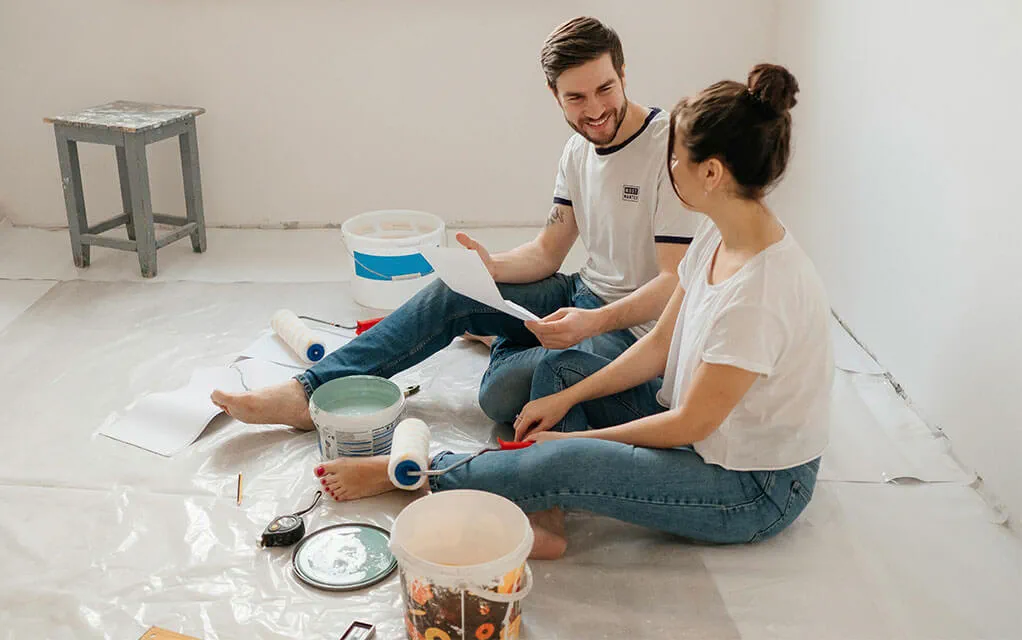
Proper home renovation storage extends the life of your supplies.
- Store clean rollers in plastic bags to keep them free of dust and debris.
- Label your paint cans with the room and date you used them for easy touch-ups.
- Keep your paint tray, brushes, and rollers together in a designated box.
- Consider a small amount of paint in a labeled jar for quick fixes.
Let Zippy Shell Solve Your On-Site Home Renovation Storage Needs
Portable storage makes any home renovation project easier. No more driving all over town and taking your stuff back and forth from a traditional storage area. We bring the storage to your location and home where you can keep it for as long as you need it. Load and unload your stuff as you go room to room, painting and renovating at your speed.
If you are looking to make a move to a bigger home or a new area, we can help with that as well! Our portable storage units double as a moving container as well. Pack and load everything up yourself or have third-party professionals load your belongings into your container and we can make your local or long-distance move go off without a hitch. No matter how DIY or full-service you want to make your move and with over 90 locations across the continental United States and more being added each year, Zippy Shell can help!
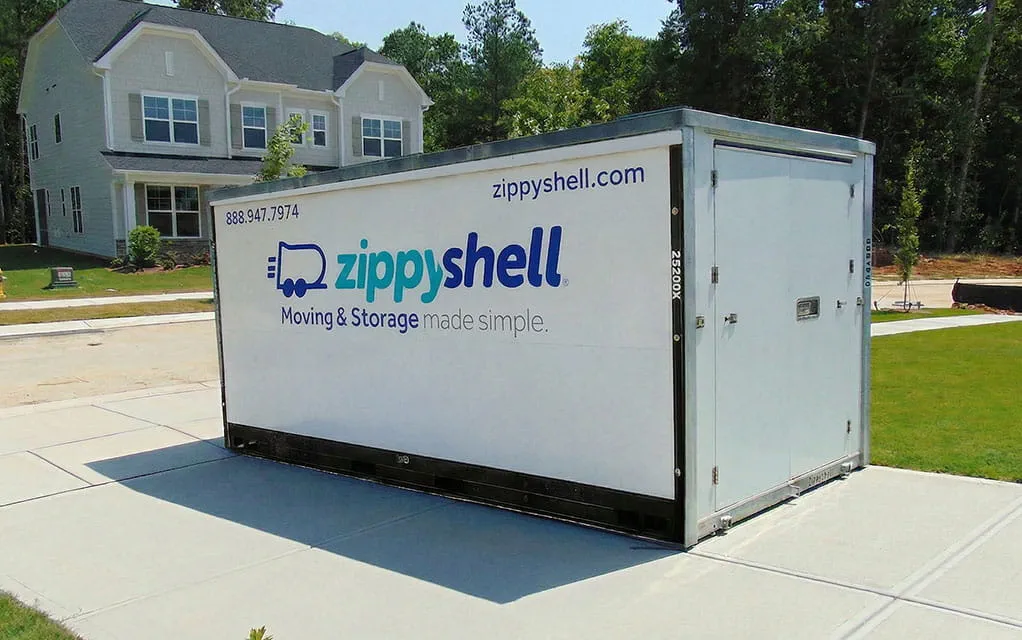
If you are planning a home renovation or move soon, give us a call or go online for a free quote to get the process started. Our moving and storage experts are excited to assist with your needs!
Frequently Asked Questions About Home Painting
What are the most common painting mistakes people make, and how can I avoid them?
When it comes to painting, avoiding common mistakes can make all the difference in achieving a professional-looking finish. One frequent error is skipping the preparation phase—many people underestimate the impact of thoroughly cleaning and priming walls before applying paint. Dust, grease, and old flaking paint can all interfere with how well new paint adheres, leading to peeling or an uneven texture over time.
Another mistake is opting for cheap or low-quality tools. Brushes and rollers of inferior quality can leave behind streaks, loose bristles, or lint on your walls. Investing in good-quality brushes and rollers ensures smoother application and more even coverage, ultimately saving you time and money by reducing the need for touch-ups.
Rushing between coats is also a common pitfall. Each layer of paint needs ample drying time as specified by the manufacturer—usually several hours—to ensure proper adhesion and prevent smudging or bubbling. Skipping this step may cause the new coat to lift off the previous one or result in a blotchy appearance.
In addition to these basics, don't forget to fill any holes, cracks, or imperfections with joint compound. After filling, sand down patched areas so they're flush with the wall surface before priming and painting. This extra step leads to a flawless finish that's free from bumps or marks.
Always tape off trim, windowsills, and corners with painter’s tape to protect from sharp edges and prevent accidental drips or brush marks. Taking your time with each stage—from prep work to final coat—not only prevents mistakes but also yields beautiful results that last longer.
What is the best method for storing items during a home renovation?
For major renovations, using Zippy Shell portable storage containers is the best method for home renovation and residential storage. You can have a portable storage container delivered directly to your home, where you can pack it at your own pace. No driving back and forth to an off-site storage area, wasting time, fuel, and money. Pack your furniture and other belongings on your schedule, easily, and from the comfort of your home. Our containers give you the freedom to take on a wide range of home renovation projects, from painting to traditional renovations.
How do I prevent paint from peeling or cracking after my project?
To prevent peeling and cracking, proper surface preparation is key. Always apply a coat of primer to ensure good adhesion. For problem areas or drastic color changes, a tinted primer works best. Also, consider environmental factors and avoid painting in extreme temperatures or high humidity, as these conditions affect how the paint cures.
What are the best types of paint to use for different surfaces in my home?
The best types of paint depend on the surface. Use an eggshell or satin paint finish for walls in most rooms. For high-traffic areas, kitchens, and bathrooms, a durable semi-gloss is better. Always use a dedicated trim paint in a semi-gloss or high-gloss finish for doors, windows, and baseboards.
How can I choose the right color scheme for my painting project?
To choose a color scheme, consider the room's lighting and existing furnishings. Test paint samples on your wall to see how they look at different times of day. Use online visualizers and draw inspiration from design websites to find a palette that complements your home’s style and creates a cohesive overall finish.
- Moving Tips (132)
- Home Organization (60)
- Fun Stuff (54)
- Home Maintenance Tips (48)
- Packing Tips (36)
- Storage Tips (35)
- Home Buying and Selling Tips (24)
- News Releases (24)
- Home Renovation Tips (16)
- Moving on a Budget (11)
- Portable Storage (11)
- Moving and Storage Tips (2)
- Household Moving (1)
- In the Community (1)
- Moving Company Comparisons (1)